Installing Drupal
Installing Drupal
For the this example, we are using xampp & install in localhost with Drupal 10 using Composer. If you are not familiar about Composer, please reed How to install Composer first. If you not install xampp yet, please read How to install xampp in windows first.
Now, we go to step by step on how to install Drupal 10 in localhost.
Step 1: Install Drupal
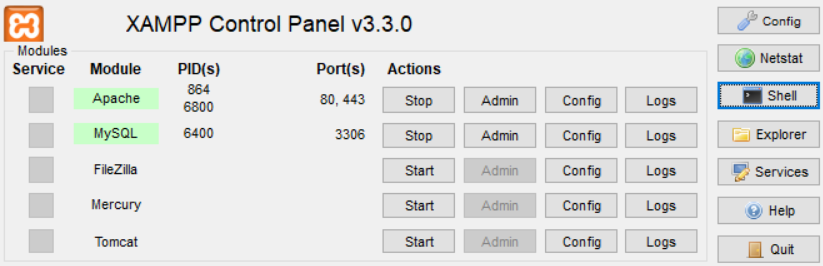
Open xampp (open as administrator) & click Start for Apache & MySWL. After that click 'Shell'
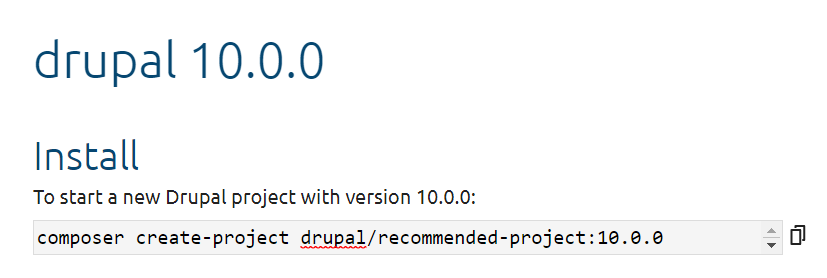
Now we will install Drupal (for this example, we are install Drupal 10.0.0) - go to https://www.drupal.org/about/10 & Download Drupal 10 as below
Open Shell & point to htdocs as below & run this command: composer create-project drupal/recommended-project my_site_name_dir
Change 'my_site_name_dir' to your prefer name
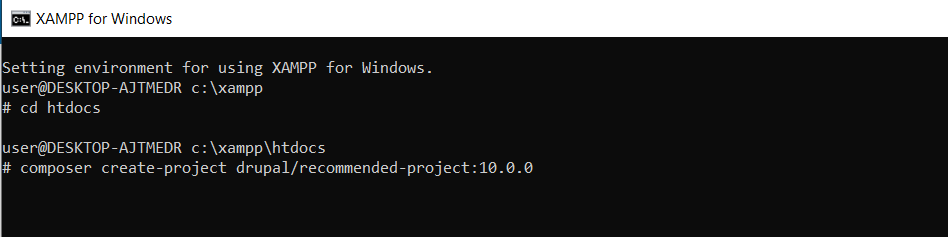
As show above, copy composer command to the Shell & enter - installing start to proses & wait until composer complete the installing proses.
Now, go to xampp\htdocs and we will see the new Drupal folder install with name 'recommended-project'. We can change or rename it with our own preference. For example we rename it to 'mydrupal'
Step 2: Create a blank database
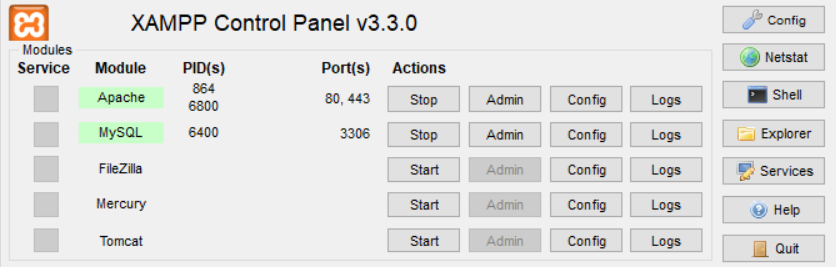
Go to xampp & click the 'Admin' at the mysql as below
After that create the blank database as show below (for this example we create database name for example 'mydrupal')
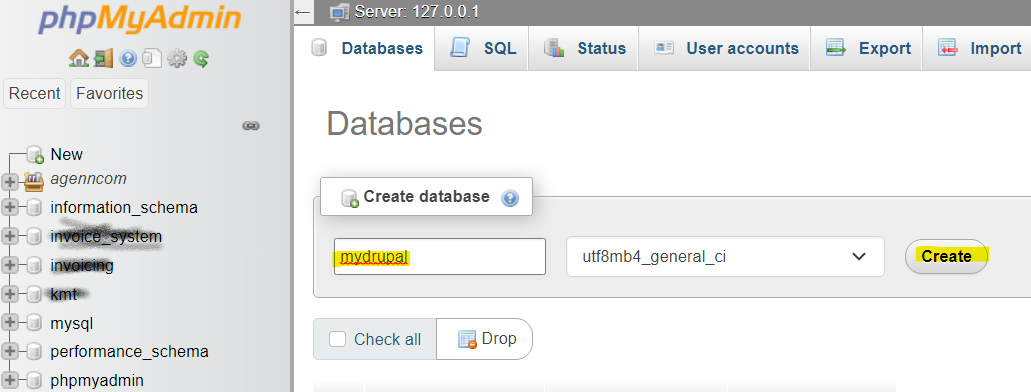
Step 3: Install the Drupal site
As per example above (step 2), go to browser and type localhost/mydrupal/web and click enter. Now drupal site start to proses - choose language as below
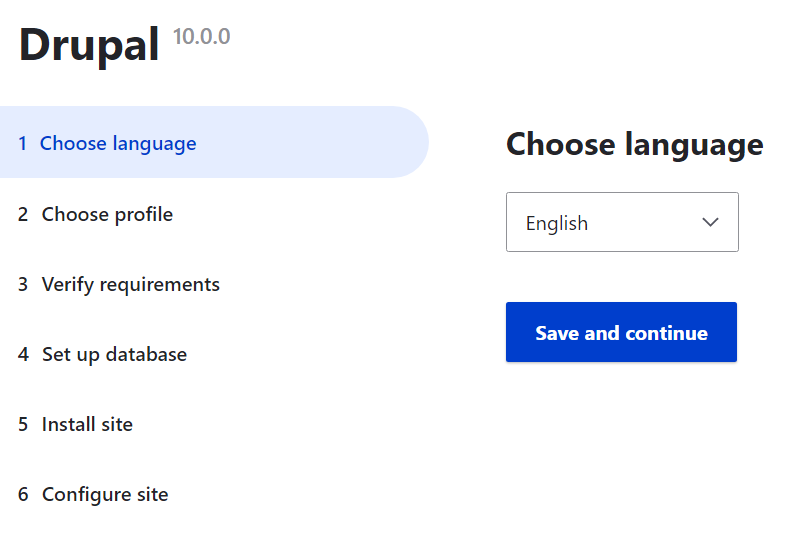
Choose English & Click Save and continue
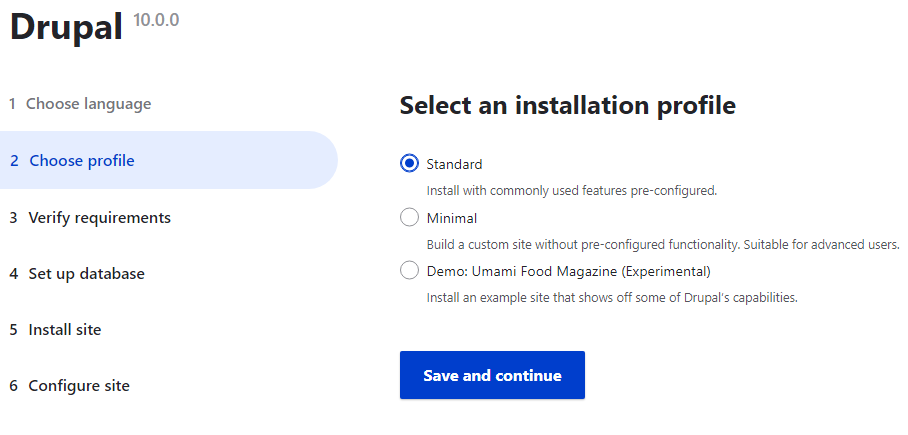
After that click Select and install profile- choose Standard
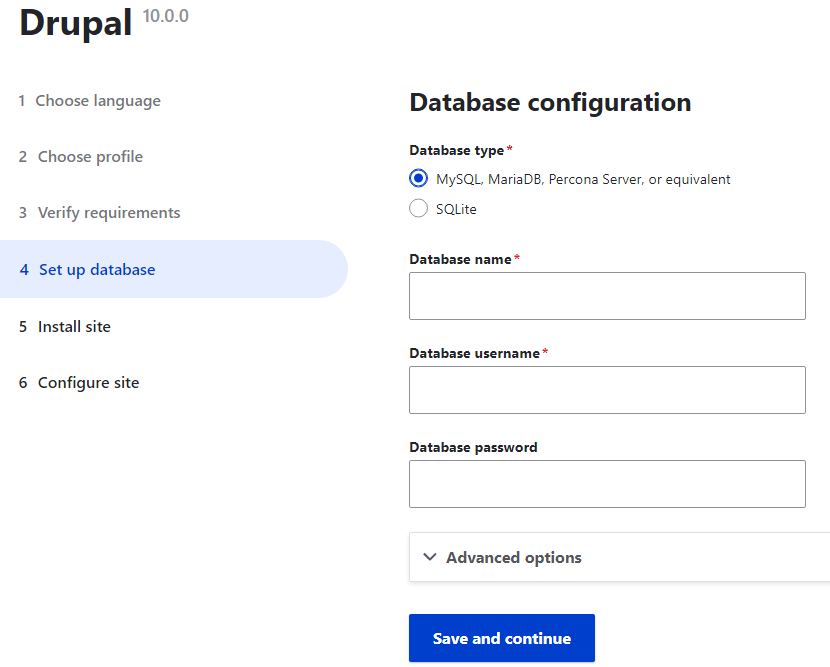
After that set the database configuration;-
- Database name: 'mydrupal' (as we create aerlier)
- Database usernama: 'root'
- Database password: left it empty
- For Advance option: left it as default
Then click Save and continue
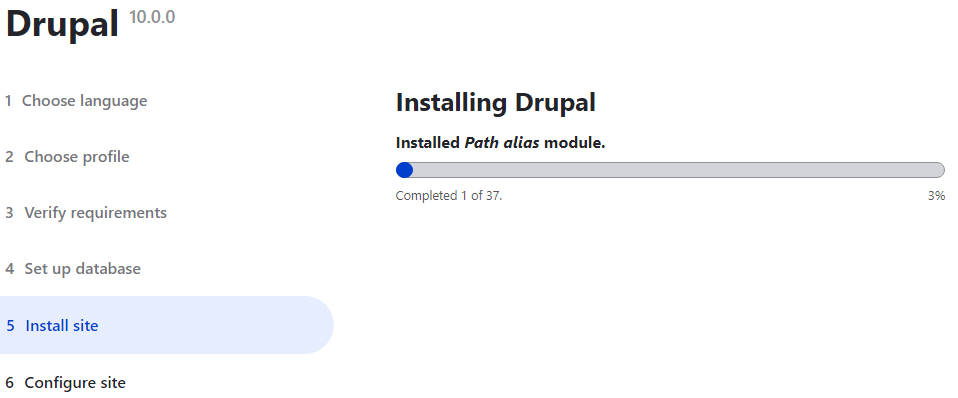
After that, Installing drupal start the proses - wait until installing finish
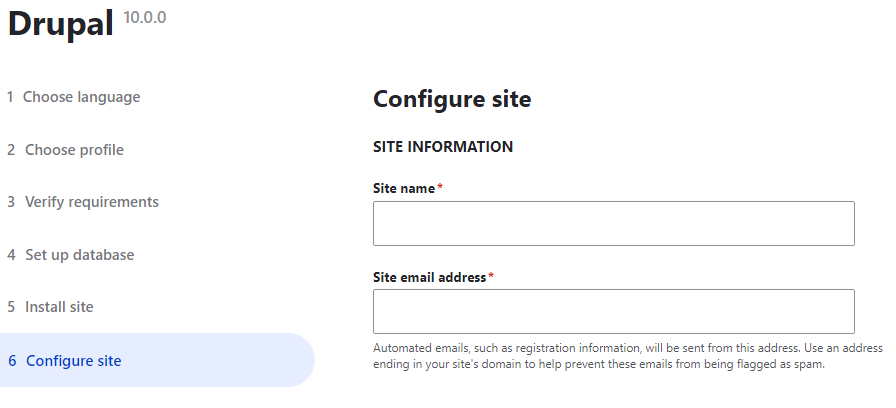
Site name: Give your site name, example 'mydrupal'
Site email address: Give our email address
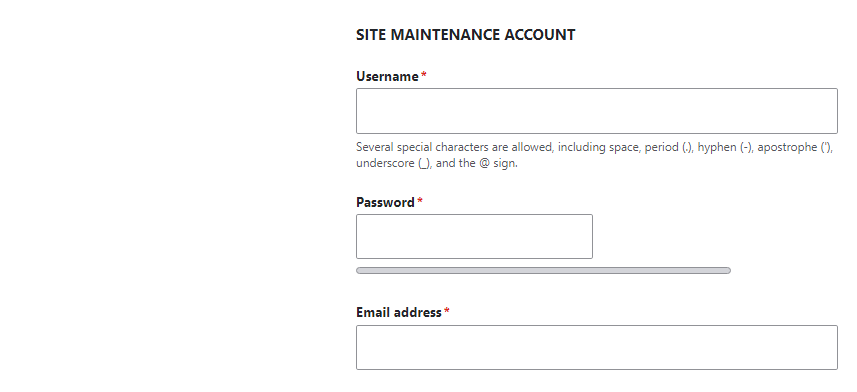
Username: Give our preferred Username: example 'Admin'
Password: Give our preferred Password
Email address: Give our email address
Note: Please remember this Username & Password - we need to use this Username & Password to login our drupal site letter on.
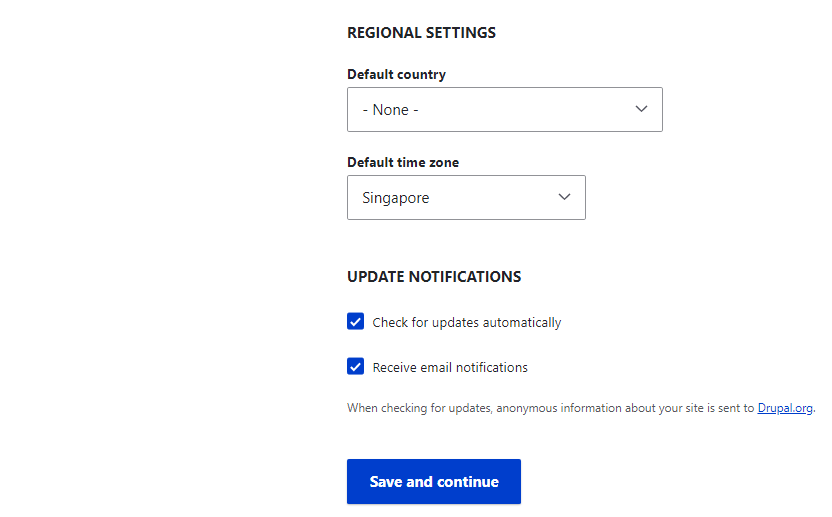
Default Country: Select our country
Default time zone: Select our time zone
Click Save and continue
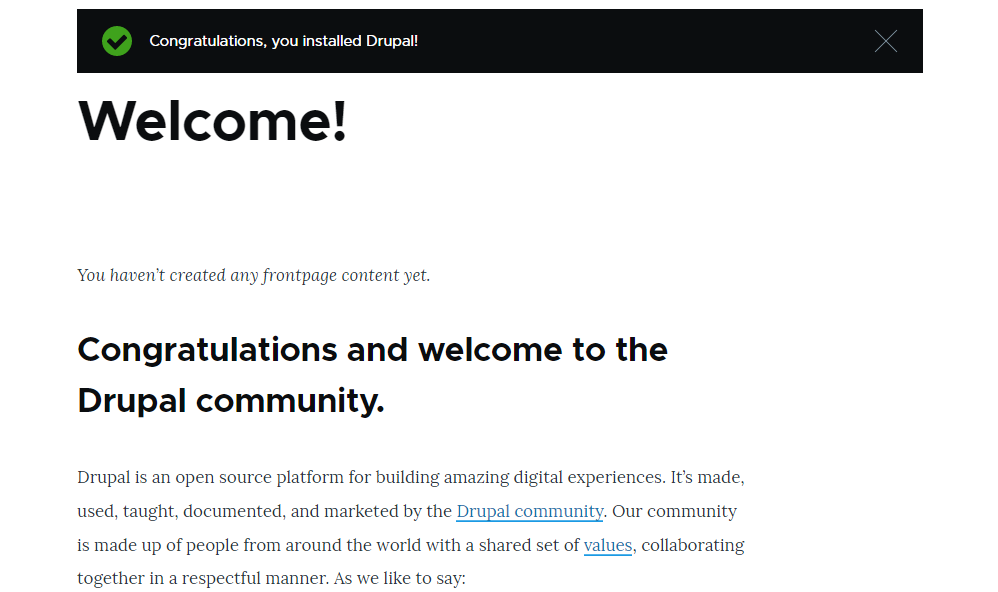
When finished, our drupal site look like above. Done !
SOME ERROR THAT WE MAY HAVE:-
Trusted Host Settings
Go to web/sites/default & open setting.php
Looking for $settings['trusted_host_patterns'] = [];
Put this code and save
PHP OPcode caching Not enabled
PHP OPcode caching can improve your site's performance considerably. It is highly recommended to have OPcache installed on your server.
Solution:
Please add this line into your php.ini (INI Source file) file location & refresh the xampp
[opcache]
zend_extension=php_opcache.dll
;Determines if Zend OPCache in enabled
opcache.enable=1
opcache.memory_consumption=128
opcache.interned_strings_buffer=8
opcache.max_accelerated_files=4000
opcache.revalidate_freq=60
opcache.fast_shutdown=1
After that, we can start using our drupal site like create a node etc..
Drupal site already have default modules. But if we want to add some functionality, we can add on contribute modules. See the most recommended module
If you have any error report, see Error & how to fix
Managing Drupal Site
Before we go further, it is better to plan in advance. It is better to take time to make a planning rather than correct it in letter on.
1) Manage the node category
To manage node category, we use taxonomy. Create taxonomy category item. When we create node we can choose that node for which category.
2) Manage the Menu
If we use taxonomy to categorixed our node - use the tanonomy item name to make a menu link. Example /myfirst_category_name.
3) Manage Content Type
- By default, drupal have 2 content type: Articles, Basic page. If you need another content type, just create a new one
- Manage image location (Optional): Go to structure>content type>Article (for example). Click Manage field. For 'File directory', the default setting is [date:custom:Y]-[date:custom:m]. If you want, you can change it to Article (for example). So that all images save under article content type will saya under article folder. This will improve the image management.
4) Manage Text Format and Editors
5) Setting Core modules
Taxonomy ~ see this
6) Add contributed Modules
If we want to add the funtionality to our drupal site, we have to add new contributed modules. Here is the most important modules to consider:
For what: To create an alias for node
- Configure
- Add pathauto pattern
- Pattern type - choose 'Content'
- Path pattern: 'article/[node:title]'
- Content type: check Article
- Label: Article
note: repeat the above step for other content type like Basic Page
- Config/content/linkit
- Enable the Linkit plugin on the text format you want to use. Formats are found at admin/config/content/formats
- Editor Advanced link
- Go to configuration>content authoring>text format & editors
- Click Advance links
- Enable attribute: at least "title", "class", "id", "target" and/or the "rel"
Use for: Anable to using existing image
Step 1: Setting content tyle
- Go to content type
- Manage form display
- Select Image
- Check the Allow users to select files from Imce File Manager for this field
- Update
- Save
- After that: Go to Configuration
Step 2: Setting Text format & editors
- Content authoring
- Text format & editors
- Open FULL Html
- Drop / select the Insert image using Imce file manager
- Save
Honeypot (or any antibot spam protection module)
Note: Statistic core module in drupal 10 was deprecieted and will be delete on drupal 11. So, we have to instal this contribute module.
Configure: Check the Count content views
Create taxonomy Vocabulary
If you need to set content to be automatically attach to the menu, you can use vocabulary
Step 1: Create Vocanulary & term
- Structure>taxonomy>Add Vocabulary
- Name: Category
- Add term: eg Motor
- Relation: 'root'
note: create another term as you need
Step 2: Add field to content type
- Go to structure>content type>manage fields
- Create a new field
- Reference
- Taxonomy term
- Label: 'Category'
- Choose an option below: taxonomy term
- Vocabulary: Category
- Check 'Required field' if you need for compulsory
note: you can set the default value if you need - Manage form display: arrange 'Category' field under Title
- Manage display: Put Category field to the top (below title)
Step 3: Create menu
- In this example we are using menu using taxonomy term as we create above
- Sturcture>menu>main nagivation
- Add link
- Menu link title: eg 'Motor'
- Link: /motor
add another menu as you need (bas on taxonomy term)
arrange the menu as you need..
note: when you create the content - select the taxonomy menu accordingly & that content authomatically add to menu
Menu management
- Menu Firstchild ~ There are cases you may want to create a parent item, without any path, that simply links to its first viewable child item
- Menu Block ~ provides additional configuration so you can choose to expand all menu links with children or to root the menu tree to a specific menu item.
- CKEditor Accordion
Themes management
Drupal come with default themes. But if we want to use other theme, we can instal from contibuted modules. Here is some contributed thems & how to configure it.
Vani
Vani is a clean, elegant, professional, multipurpose and fully responsive Drupal 8, 9, 10 and 11 theme.
This theme is light weight, clean, modern, fully responsive (mobile first approach) and very easy to customize according to your needs. It is quick and easy to setup.
Vani is built for ALL types of business, corporate, consulting agency and personal websites.
Note:
- Vani themes come with function to 'exclude node title' - especially when we create for frontpage
- Go to Structure
- Click Block Layout
- Configure the 'Page title'
- Under the page - check the 'Hide for the listed pages'
- In the column box type '<front>'
- Save
client = ca-pub-2898279488603899
slot = 9058461004
format = auto